Uploading Building Information
Navigate to Building Data
- Click the Building Data button, all the building data collected are displayed in a list.
- Once clicked, displays the Buildings Data list page.

Figure 5-1 Building Data
Overview:
- Building data collected by the user are stored on the local device memory. Once the user has internet access, the user can transfer the data to IMIS.
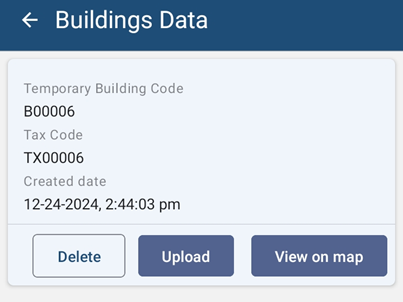
Figure 5-2 Building Data List
- Notice that the Building Identification Number (temporary) and Tax Code of the building are appended on the file name of the building data.
Tools:

Figure 5-3 Building Data Tools
- Delete: The user can also delete the recorded data by clicking on the **'**DELETE' button. A message box will appear, to confirm the delete.
- View on Map: The user can also view the outline of the building on the map. The building footprint is displayed on the map.
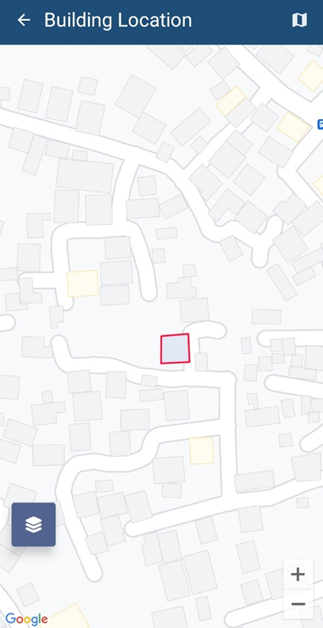
Figure 5-4 View Building on Map
Uploading Building Data
- For uploading building data to IMIS, click ‘UPLOAD’ button.
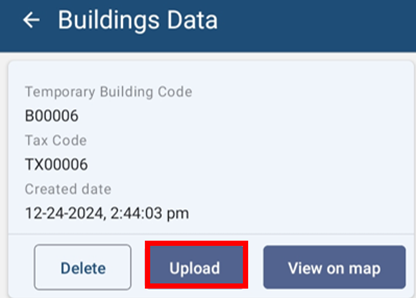

Figure 5-5 Building Data Upload
-
Once the data has been uploaded to IMIS, a message box will appear. Press OK to exit.
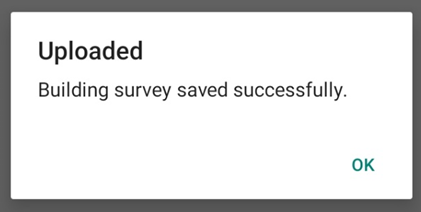

Figure 5-6 Upload Confirmation Box
Overview:
-
Once the data has been uploaded, stored data on the local device memory will be removed.
Note:
· If the user tends to upload the Building data in which it has the intersected polygon, then the system will notify with a message as:
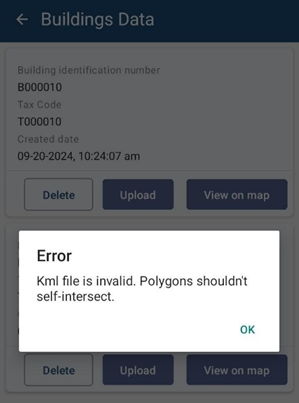
Figure: Validation Message of intersected polygon
The user has to delete the intersect polygon data and again collect a new data of the Building polygon by placing each marker on the edge of the building’s plinth and upload the data.