Building Map
Navigate to building map
-
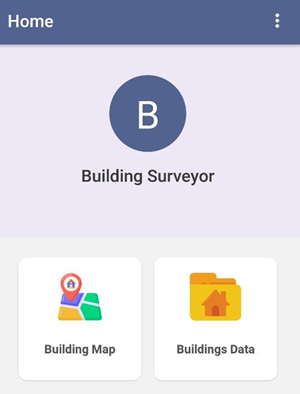
Select the
'‘BuildingMap'Map’ option on the dashboard. -
Once clicked, map interface is displayed.

Overview:
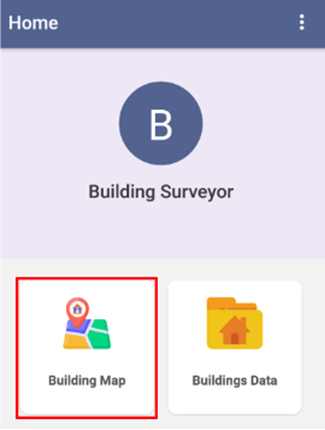
Figure 4-1 Building Map
Overview:
-
The Building Map option displays the map interface where the user can collect the building footprint by placing markers on the map.
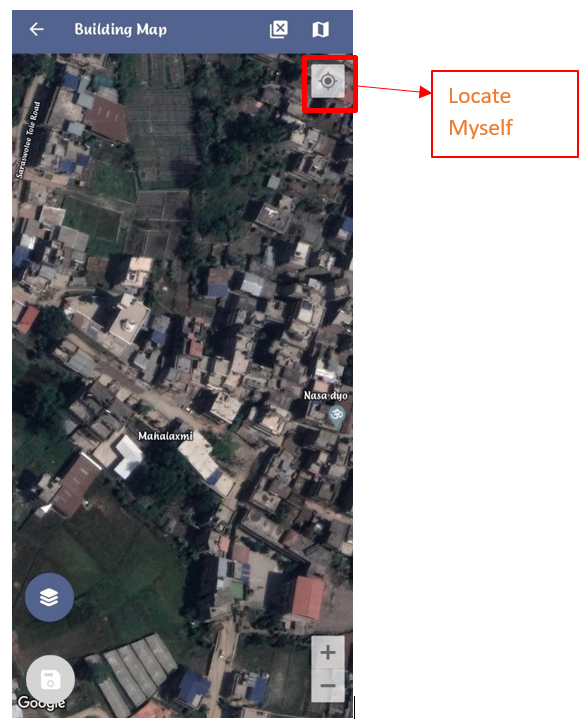
Figure 4-2 Map Interface
- When a building's outline is already identifiable on satellite data, which is often the case for pre-existing buildings, users have the option to trace the building's corners without needing to visit the site physically. However, it is generally advised to conduct a site visit for data collection purposes.
-
When the Building Data option is selected, the user's location is automatically displayed on the map, and they can also use the "
"LocateMyself"Myself" button topinpointpin-point their exact location. -
The users may need to manually adjust the map by dragging it to align with the specific location
wherethey wish to collect building data from. -
When there is no building footprint on the satellite data (usually a case when the building has been constructed recently), the user
hasmusttophysically visit the site and trace corner points ofbuildingsbuildings.physically. -
In this case, the user needs to go to each corner of the building and start collecting corners of the building by tapping on the map.
Tools:
Tools:


Figure 4-3 Building Map
-
Clear Map: Click to remove
theadded marker. -
Switching Maps: Click to toggle among various Google base maps e.g.,
Street and Satellite.
-
Locate Myself
thecurrent position oftheuser.user. -
Zoom
in/outIn/Out: Click to zoom in and out of the map. -
WMS
LayerLayers: Click to gettheWMS Layers of the map. The WMSLayerLayers is a dynamic tool that draws an overlay on the Map. It can display the different layers of data such as Building Data, RoadData,Data and Ward data. This functionality enables the user to view the digitized data that is stored in the database. Upon clicking on the WMSlayerLayers button, the user is prompted with apop-pop up to select the layers required. Upon selection, the related data layers are highlighted on the map.

Figure 4-4 WMS Layer Toggle
Save: Click the save icon to store the added markers.
Building data collection
Once the map is visible, click theLocate Myselfbuttonto find the user's exact location. If the user's location point (blue marker) is not accurate on the map, then ensure one of the points is accurately placed by referencing yourself with the nearby roads and buildings displayed by the google maps and WMS layer. Then click at different positions on maps to create an approximate outline of the building using distance information shown between markers. If the user's location is accurately displayed on the map, then in that case, the user can walk to the edges of the plinth of the building and follow the blue marker that indicates the current location and place the markers accordingly.The user can also turn the WMS layer on to view the pre-existing buildings.If the user wants to delete one of the already placed markers, click on the marker to delete it.
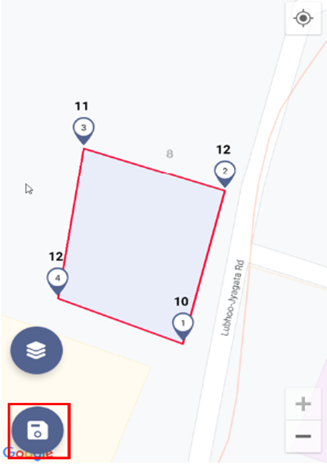
Figure 4-5 Save Button on Map
The distance between the markers is shown on top of the markers. The distance can be visualized by following the sequence in which the points are marked. The distance between the first and second marker is shown on top of the second marker (12m). The distance between the second and third maker is shown on top of the third marker (11m), the distance between the third and fourth maker is shown on top of the fourth marker (12m) and the distance between the fourth marker and the first marker is shown on top of the first marker (10m).Once the user is satisfied with the generated outline, click theSavebutton to accept collected building information. Click theNextbutton to proceed.The user is prompted with a dialogue box requesting for Building Identification Number (temporary) and Tax Code of the building. Fill in the data and click theSavebutton. Then after, markers in the map are cleared.
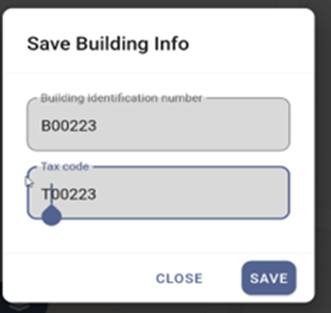
Figure 4-6 Building data collection with site visit
Overview:
Physically visiting the site is recommended. Go around the building to get a rough idea about orientation and length of the building. Stay at a corner of the building where it has a clear and unobstructed view of a large portion of the sky. Nearby buildings and trees can prevent GPS signals from the satellites reaching the receiver. GPS receivers on phone need some time to first acquire signals from satellites, therefore allow couple of minutes to acquire signals from satellites.Crossed Polygons are not accepted such as X-shaped polygons and polygons should not overlap with existing polygons or be on the top of the road layers. Additionally, ensure that opposite sides of the buildings are parallel to each other as far as possible.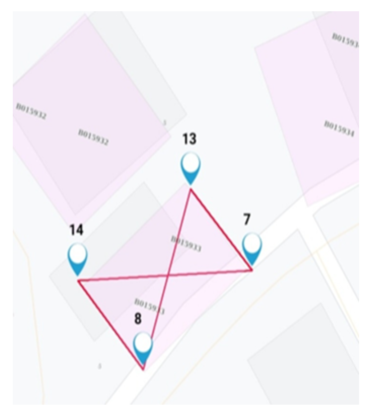
Figure 4-7 Photo displaying the crosses polygon marker